The Galley
Healthy Lunches
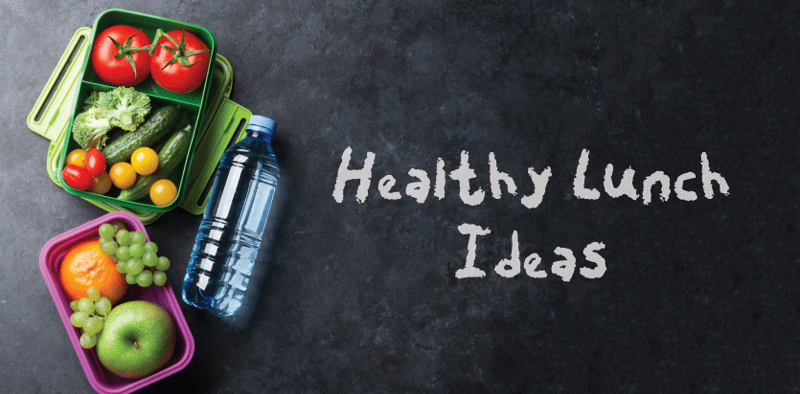
 Ah, summer is over and another school year begins. It’s time to say goodbye to sunny weekends, camping trips and the long days of summer. It’s back to routine and making lunches. Are you ready for some new, fresh ideas? Want to give your children something nutritious that they will actually eat? Of course you do!
I am going to help. Because of allergies, most schools do not allow any nut products. But some have even banned strawberries, kiwi, eggs and fish, just to name a few. This doesn’t leave many options. Surprisingly, pizza, burgers and french fries are always widely accepted. These are not healthy choices. They do not provide our children with the nourishment they need to grow up strong and healthy. Try to stay away from processed foods that offer little to no nutrition. Prepare your lunches at home in advance and stay away from convenient, fast food. With a little planning and creativity, we can give our children the tools they need for a healthy and happy future. One child at a time. Here are a few simple ideas:
- When making sandwiches, use whole grain bread. Instead of buying processed meat, which contains nitrates and other artificial ingredients, cook a chicken or roast and use the leftovers.
- Wrap some black beans, salsa and cheese in a whole wheat wrap for a healthy burrito. Add a little mashed avocado or guacamole.
- Cut up vegetables like carrot, cucumber or broccoli and serve with hummus or black bean dip.
- Make a veggie wrap with hummus or avocado.
- Add your own flavor to a plain yogurt. Choose organic, unsweetened yogurt and add your own fruit. For chocolate lovers, try a teaspoon of liquid honey and a dash of cocoa. Cut up pieces of fruit to dip.
- Leftover chili, rice or pasta. If heating up in a microwave, be sure to use a glass container instead of plastic to avoid releasing toxic BPA.
- Brush a whole wheat pita or wrap with olive oil. Cut into small triangles and bake until crispy. Serve with hummus, black bean dip or guacamole.
- Make homemade muffins and cookies. I have included a few recipes of my own!
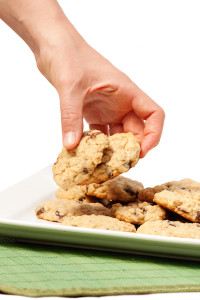
CARROT RAISIN OATMEAL COOKIES (Nut-free and sugar-free)
½ cup organic butter (softened)
1 cup whole wheat flour
¼ cup pure maple syrup
1/3 cup liquid honey
1 free-range egg
1 tsp baking powder
½ tsp cinnamon
2 cups quick oats
1 cup, approximately 2 – 3 organic carrots (shredded and finely chopped)
½ cup raisins
Pre-heat oven to 375 degrees F. Grease cookie sheet with butter. Mix butter, flour, maple syrup, honey, egg, baking powder and cinnamon. Beat well with mixer. Add oats, carrots and raisins. Mix well. Drop on cookie sheet and bake for 10 – 12 minutes. Makes approximately 18 cookies.
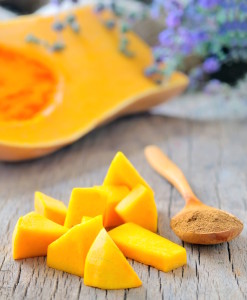 PUMPKIN BARS (Nut-free, sugar-free and dairy-free)
2 cups quick oats
½ cup sesame seeds
½ cup pumpkin seeds
¾ cup dried cranberries
1/3 cup oat bran
½ tsp cinnamon
1/3 cup liquid honey
2 free-range eggs
½ cup pumpkin puree
Pre-heat oven to 300 degrees F. Grease a baking dish with extra-virgin olive oil. Mix together all the dry ingredients (quick oats, sesame seeds, pumpkin seeds, cranberries, oat bran and cinnamon). Mix all the wet ingredients in a different bowl (honey, eggs and pumpkin puree) and blend well with a mixer. Add the wet ingredients to the dry ingredients and mix well. Spread mixture into the pan and press. Bake for 30 – 35 minutes, let cool, and cut into squares.
*For a nut-friendly version, substitute the pumpkin seeds with chopped pecans or walnuts.
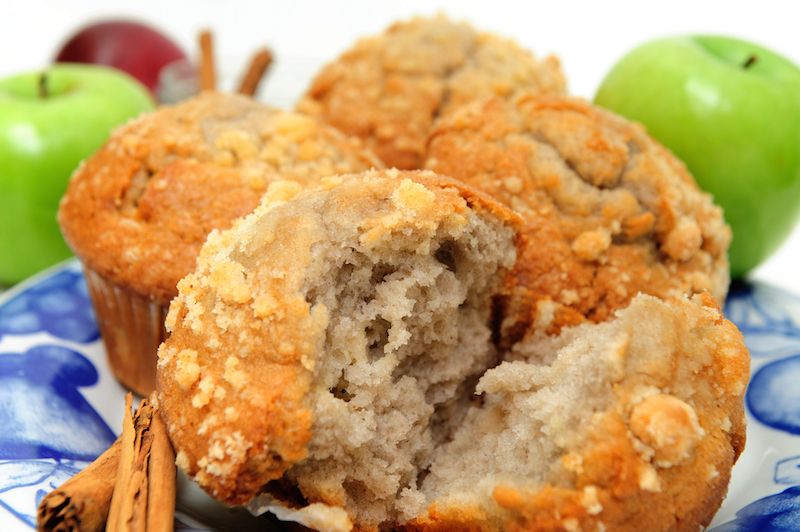 APPLE MUFFINS (Nut-free, sugar-free, dairy-free and gluten-free)
2 cups rice flour
2 tsp baking powder
1 tsp cinnamon
2 cups, approximately 2 organic apples (peeled, cored and finely chopped)
¼ cup pure maple syrup
1 cup apple juice, unsweetened
¼ cup extra-virgin olive oil
1 free-range egg
Pre-heat oven to 375 degrees F. Grease muffin pan with extra-virgin olive oil. Combine dry ingredients (flour, baking powder, cinnamon) in a bowl and stir. Mix maple syrup, apple juice, olive oil, egg and blend well with a mixer. Add the apple and wet ingredients to the dry ingredients. Mix and spoon into the muffin pan. Bake for 18 – 20 minutes or until an inserted toothpick comes out clean.
**This article was originally published in our Fall 2013 issue**


